Español
  Italiano
 Step 1
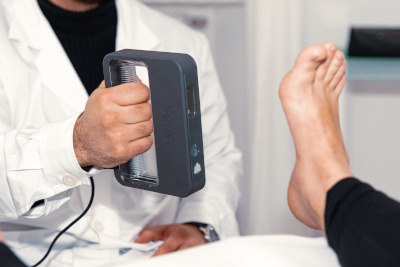
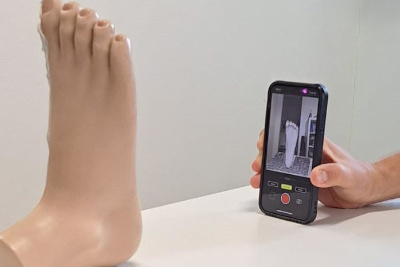
3D scan of the patient foot
To scan the patient's foot there are several options: depending on the type of need, portable and lightweight scanners suitable for 3D scanning of the patient's foot or real phone applications can be used. (See the Store)
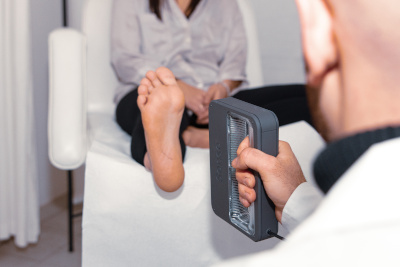
The acquisition of the plantar surface is produced by projecting an infrared drawing on the foot that allows the shape to be obtained in detail. Scanning is fast and intuitive as the scanner detects the distance to the object, adjusts focus and suggests the correct distance to maintain.
During the acquisition phase it is necessary to slowly move the scanner around the sole of the foot, maintaining a constant distance.
The system allows data to be acquired and processed to generate the complete polygonal surface of the foot in real time.
In this phase it is possible to see the progress of the scanning process on the monitor or mobile phone to avoid leaving empty spaces in the 3D model.
Finally, the OBJ file of the scanned 3D foot model can be saved for the next step with the Feetah system.
Step 2
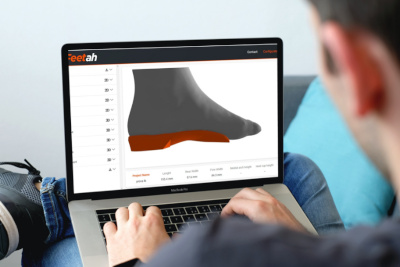
3D modeling of the orthopedic insole with Feetah software
The manufacturing process of the orthopedic insole goes through a 3D modeling phase made possible thanks to the simple, intuitive and fast use of the Feetah online software that generates the three-dimensional model of the personalized orthopedic insole based on the morphology and size of the foot.
Simply complete the login, upload the OBJ file of the previously scanned foot and use the online system to customize the orthoses by inserting all the necessary changes in the specific clinical case.
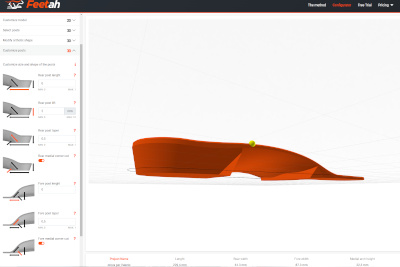
Through the Feetah system it is possible to make all or almost all of the main changes to your orthopedic insole from a podiatric point of view.
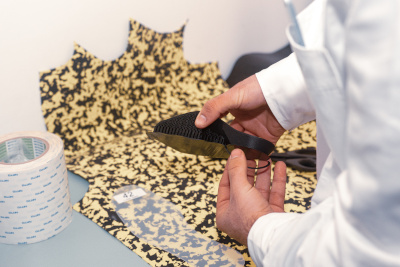
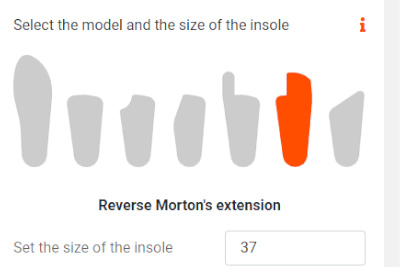
It is possible to make an orthosis with Morton Extension, for problems of limited movement of the big toe (hallux limitus), with Medial Heel Skive, for serious pronation problems (flatness of the foot), with modifications with posts/variant wedges/rearfoot and forefoot valgus (intrinsic or extrinsic) and much more. However, to create accommodative orthotics, simply choose the "FULL SUPPORT" option to create variable density TPU insoles.
Corrective elements such as the Retrocapital Bar can be added or it is possible to perform specific pressure relief on the metatarsal or rearfoot.
But it is also possible to develop a physiological orthosis without corrective modifications, since the doctor can simply vary the size and shape of the insole.
In the end you just have to download the .STL file of the 3D model of the orthoses you want to print.
The STL file of the 3D model of the orthosis can finally be downloaded for the next step.
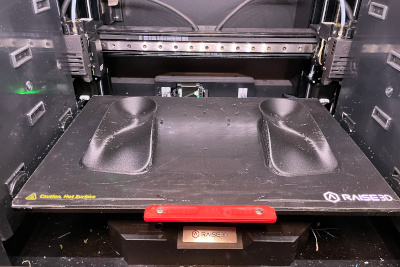
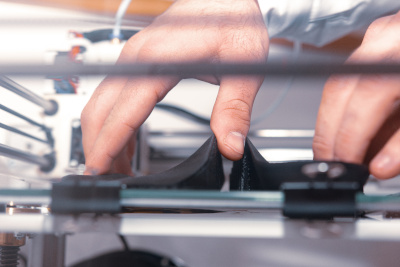
Step 3
3D printing of the orthotic insole
Once you have downloaded the .STL file from our site, you can send it to your 3D printer if you have one (you can use a USB stick or send them through an online server if your printer allows it) or, if not, you can send it to one of our 3D production centers and receive it printed directly in your office.
Some printers can have a double extruder to reduce production times by half while others allow chain printing with a defined "inclined" plane.
When you decide to use a certain type of material, it is important to know which printer to buy and how to configure the printing parameters (speed, temperature, extruder size, etc.). Over the years we have had the opportunity to test various models of 3D printers on the market and we have selected those that best fit the needs of our clients, in order to offer them a truly "tailored" 360-degree product (see the Store).
The same can be said about the choice of materials, from the most rigid to the most flexible, also including recycled materials such as PPCF, for the creation of more ECO-SUSTAINABLE insoles.